How to Implement Floating Activity in Android Application

IT copywriter
Reading time:
Usually developing a tablet version of an existing mobile app that’s been optimized for a smartphone is fast and easy: you can use Fragment, decompose Entities, etc. However, the task within one of our recent projects was rather unique. We were not only making a tablet version for an application based on the ActionBarSherlock library but we also needed to:
- implement a Floating Activity in android application, i.e., a transparent Activity so that users could input the required information while also being able to see other Activities or the app itself on the screen in the background.
- preserve the original size of the floating activity in both portrait and landscape orientations of the device. Ideally, the Activity should be located center-screen and reach full-screen across the shortest display dimension and cover 2/3 of the screen across its longest dimension.
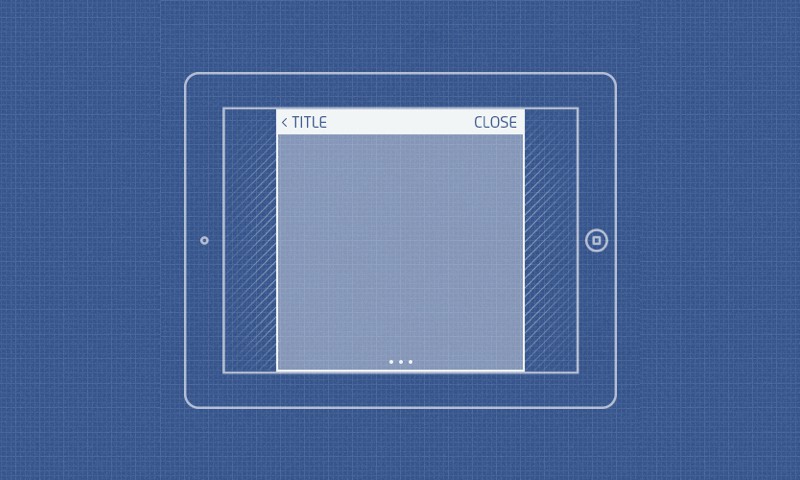
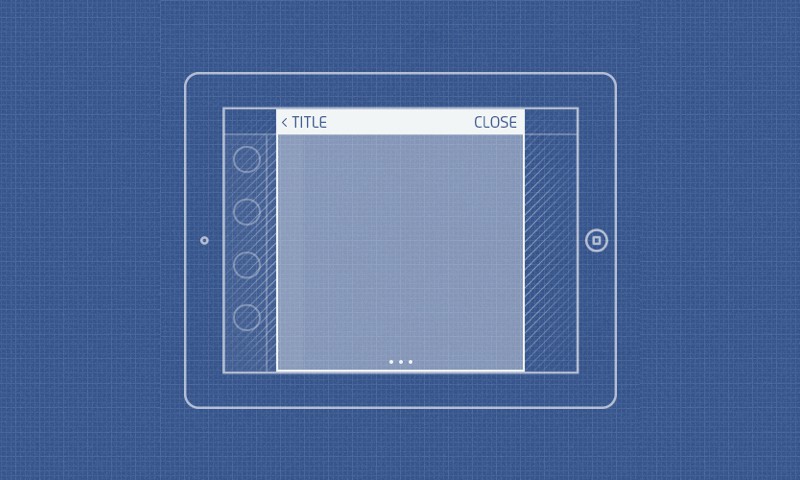
Since we already had a phone-optimized version with all Activities written, it would have been a waste of time to start completely from scratch. Below illustrates and describes how existing Activities were simply modified in order to meet the new device’s format requirements — with the code reused to the max:

Task overview
Task implementation takes place in 3 stages:
- Calculating an optimal Activity size and determining its location
- Making the Activity transparent so most everything behind it is visible
- Rendering the background unresponsive to touch or any other user input
Calculating optimal floating activity size
As mentioned above, we plan to work with phone-version Activities that use the ActionBarSherlock (ABS) library. The library is integrated into projects as a separate module, along with its sources.
If you ever taken a close look at ABS source code or been interested enough to examine the structure of a native ActionBar, you know that any attempt to resize an Activity when calling the setContentView method fails: both the size and location of an ActionBar will remain unchanged. What we need to do is to take action at a higher level where the code that draws the ActionBar — ABS or Android itself — contains no data regarding window size, so that we may adjust it to our liking.
The most obvious solution is to change the Window size, and to do this you need to add the following code into the Activity:
@Override
 public void onAttachedToWindow() {
 super.onAttachedToWindow();

 if (getResources().getBoolean(R.bool.is_tablet) && mOpenAsSmallWindow) {
 final View view = getWindow().getDecorView();
 final WindowManager.LayoutParams lp = (WindowManager.LayoutParams) view.getLayoutParams();

 lp.gravity = Gravity.CENTER;

 lp.width = mActivityWindowWidth;
 lp.height = mActivityWindowHeight;
 getWindowManager().updateViewLayout(view, lp);
 }
 }
After code execution, the window size will change in accordance with the values of the variables mActivityWindowWidth and mActivityWindowHeight.
The is_tablet check is needed to change size on tablets only, and the mOpenAsSmallWindow flag serves to define which screens should be opened in full screen mode and which should be rendered as new windows.
If you try to launch the code and the app crashes, and you see the error log revealing “ActionBarView can only be used withandroid:layout_width=”match_parent” (or fill_parent).
No worries… we have access to the ABS source and we just need to tweak them a little bit.
Open the ActionBarView file and comment out throwing an exception in the onMeasure method — and that should solve the problem. With Android being an operating system utilizing non-standard permissions, there’s very little that can go awry aside from maybe a few MenuItems being calculated inaccurately, but it’s something we can’t check.
Note: This approach has never been tested on a native ActionBar, as I’ve switched it off on my Android version for customization reasons. To deactivate ActionBar, you need to find the class ActionBarSherlock in the static initialization block and comment out the line:
// registerImplementation(ActionBarSherlockNative.class);
The code should work fine now and we see the Activity with the opaque background:
Adding transparency
Now when we’ve specified the necessary dimensions and proper location, we can process the Activity to make it transparent. To implement transparency, add this attribute to the theme of a tablet Activity:
<item name="android:windowIsTranslucent">true</item>
This value should make the Activity background transparent.
In checking:
It works great! We can see everything that lies beneath.
There’s just one minor nuisance: the screen above is from the Nexus 7 running Android 4.3, while the same app on a Nexus7 on Android 4.4.2 we can’t see our Activity.
After some debugging and log checking, we found out that our Activity (let’s call it MainActivity) hadn’t been deleted (no onDestroy method was called on it), and thus it was just being ignored by Android: the platform didn’t draw it. And why? The thing is, in KitKat a new optimization algorithm has been added. Due to it the OS sees that the Activity is displaying in full-screen mode (it doesn’t regard the WindowManager changes) and considers drawing the MainActivity that lies beneath it as being redundant, therefore it draws nothing at all.
We investigated the issue and found that Dialogs and other elements not displayed in full-screen mode were being drawn normally. So, all we needed to do was to add some lines to our theme:
<item name="android:windowIsFloating">true</item>
<item name="android:windowCloseOnTouchOutside">false</item>
<item name="android:colorBackgroundCacheHint">@null</item>
<item name="android:backgroundDimEnabled">true</item>


Comments